Conversation


🥳 Feedback Received!
Thanks for taking a moment to share your thoughts — it genuinely helps us make each chapter sharper.
What happens next:
- Your feedback goes straight to our product team.
- We’ll use it to refine lessons, clarify examples, and make the program even more useful.
Appreciate you helping make this program better for everyone.
Ready for your next challenge? 👇
Project: Launch Your First Amazon Ad Campaigns
Now that we’ve laid the groundwork on ad and targeting types, we’ll dive into launching your first campaigns, starting with a single-product sponsored product ad campaign.
Before getting started, a quick note: The following is technical and tactical. You won’t be creating the next Starry Night; you’ll be painting by numbers. Amazon is one of the least creative channels, but because of that, you can spend less time building assets and more time optimizing.
Here are the seven steps for launching a high-converting Amazon ad channel.
Step 1: Create a seller account if you don’t already have one
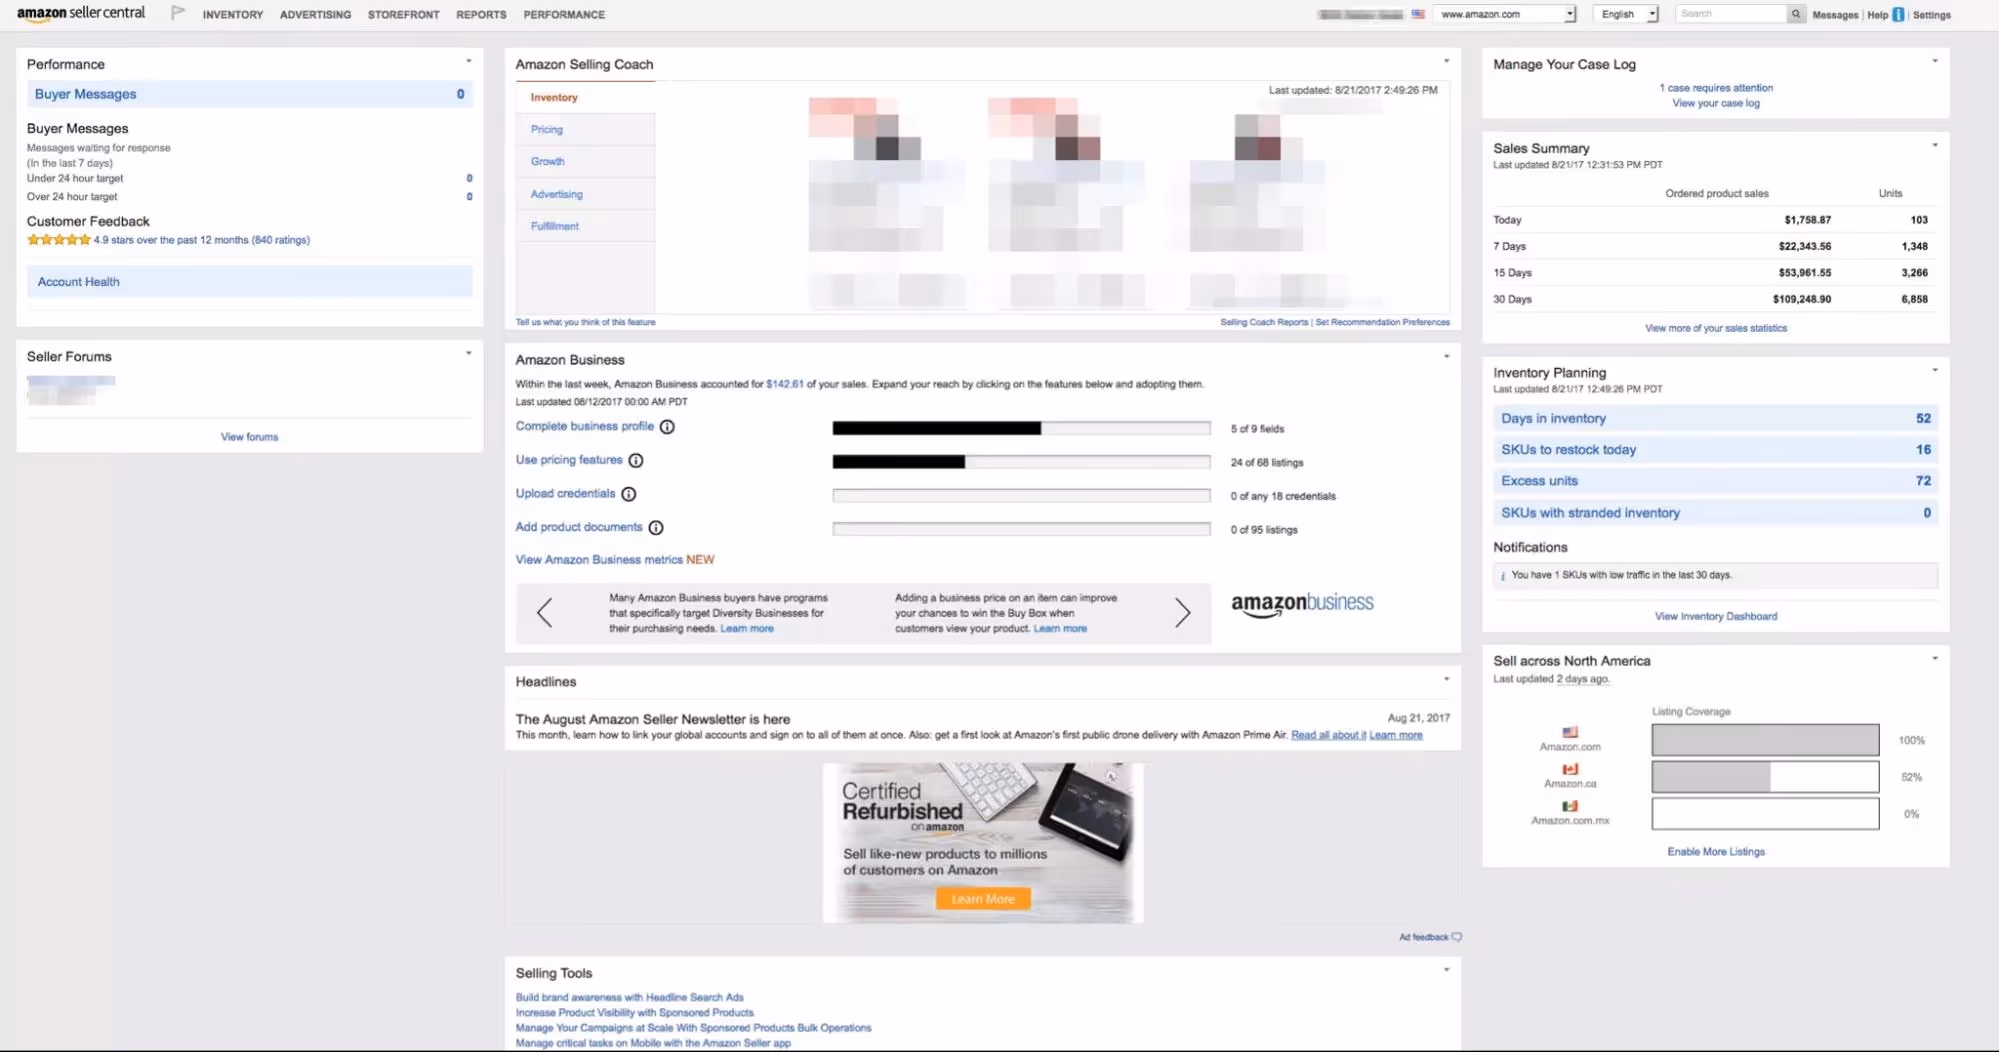
Your account is what you’ll use to manage your ads, inventory, and reports. If you’re a small business owner who sells direct, you’ll use Seller Central. Large businesses that sell to Amazon in bulk can use Vendor Central, which is invite-only.
Chances are, if you’re a startup, you’ll be using Seller Central. Setting up an account is easy. Just go to Amazon.com > click on Sell products on Amazon in the footer, and take it from there. You’ll need a valid credit card, bank or credit card statement, and form of ID, and you’ll need to provide your store name—something you’ll probably want to come up with before the account-creation process.
It should take about 24 hours for your Seller Central account to be approved.
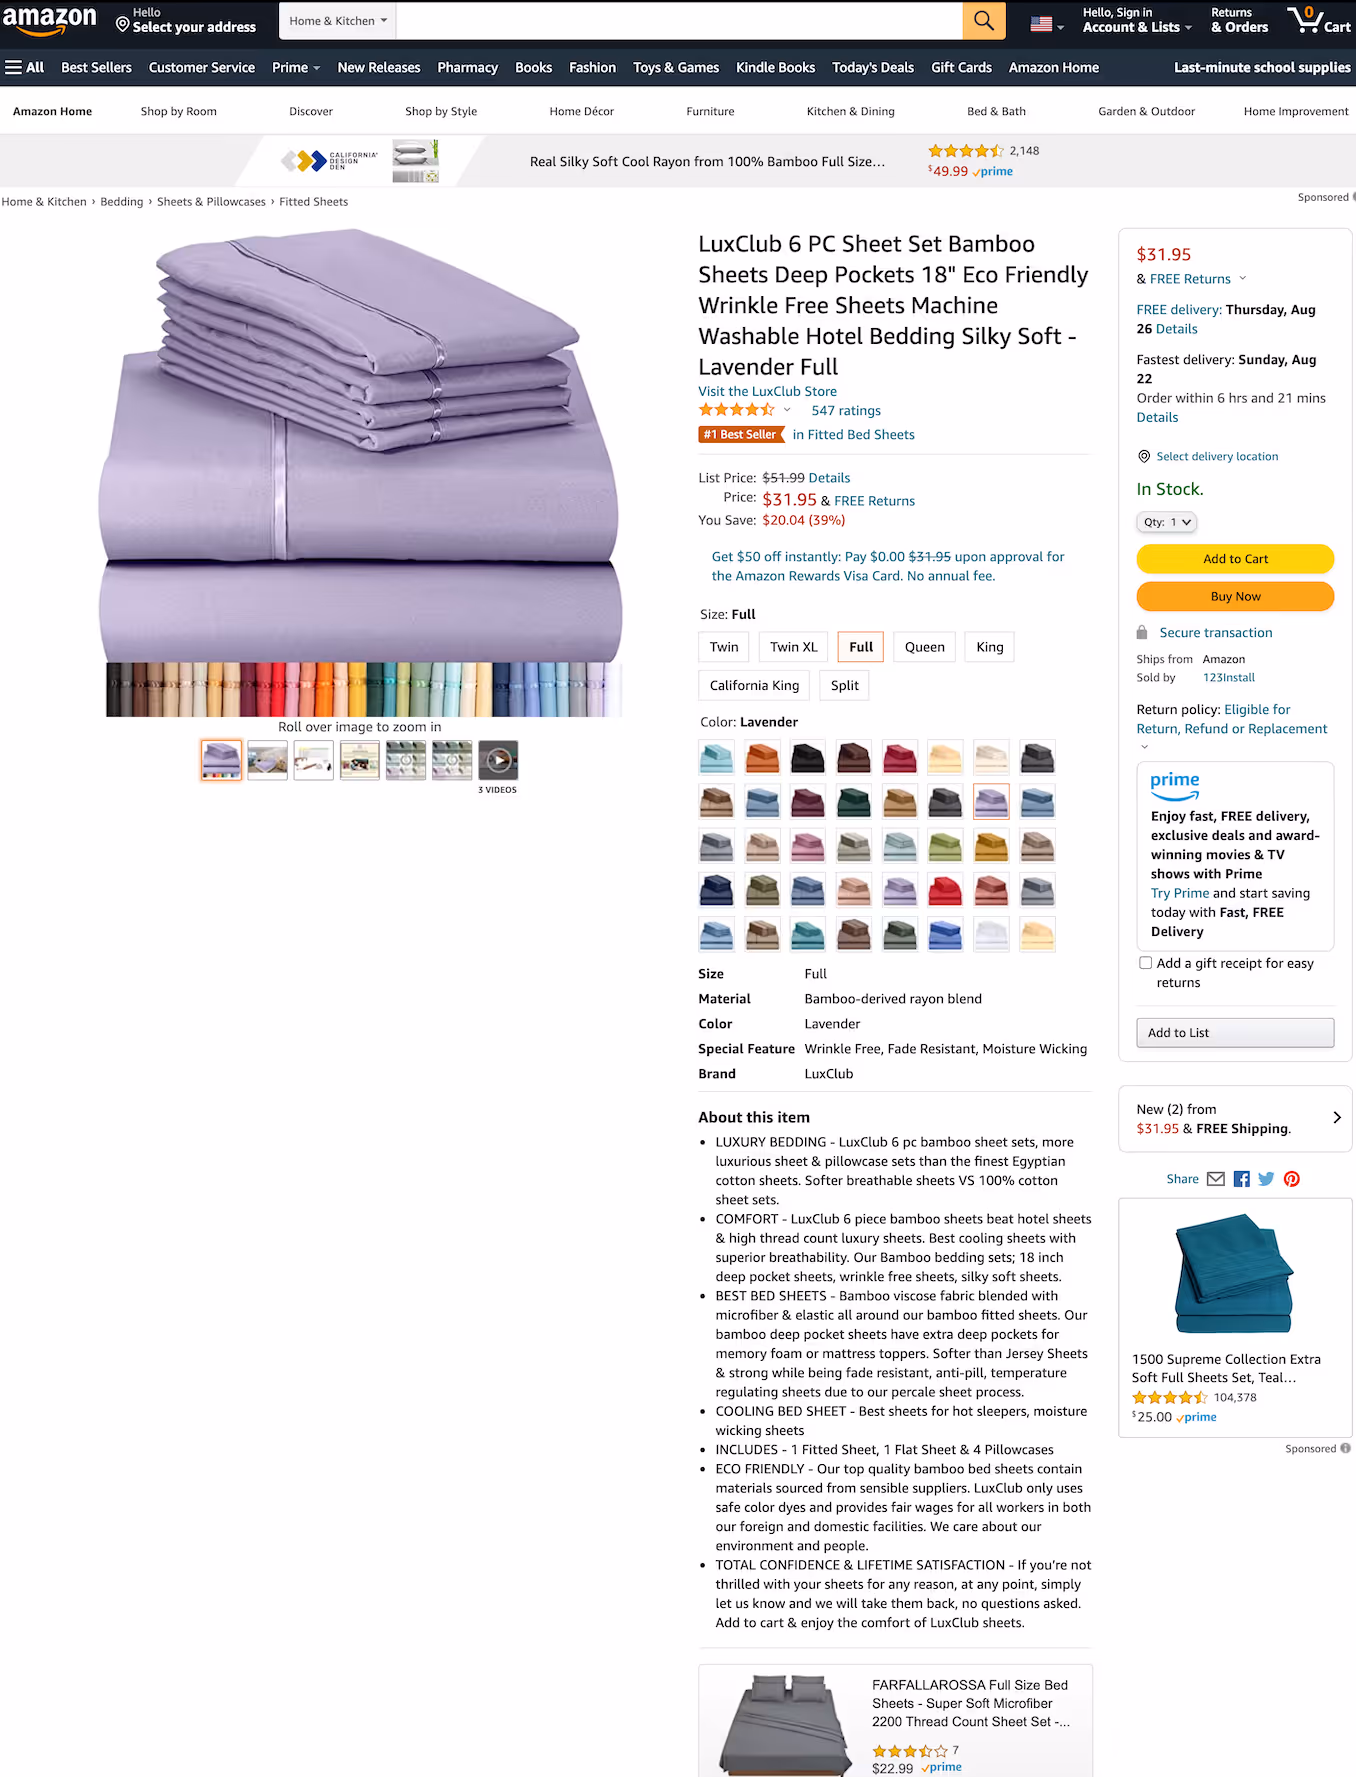
Step 2: Optimize your product pages
When businesses run ads on Facebook or Instagram, they learn something fast: An ad might have the most eye-catching graphics, motivating copy, and clickable CTA. But if the landing page it leads to is mediocre, it won’t convert.
The same is true on Amazon. You might get tons of clicks on your ad, but if your product page underwhelms, those clicks won’t convert to sales.
Before you start running ads, make sure the product page you’ll be driving traffic to:
- Has a compelling title and includes at least one keyword. Since you haven’t done keyword research yet—we’ll get to that—use your judgment and any past research to include what you think are your product’s top keywords.
- Has a thorough product description. Keep it between 250 and 1,000 words, including about five bullet points for easy skimming and your best guess on keywords.
- Has a canonical URL with five words (possible keywords) separated by hyphens.
- Features high-quality, high-resolution images and video. Aim for around seven images and one video.
- Is honest. Your product reviewers will be the first to call you out for overpromising or being inaccurate.
Reviews are important, but you might not have them yet—all the more reason to launch Amazon ads and drive conversions.
Step 3: Determine your target ACOS
The emphasis with Amazon ads is on actual sales. Top-of-funnel metrics like clicks and impressions are still helpful to track, but this far along in the buyer journey, what you want are orders and revenue.
That’s why ACOS is the key metric you’ll use for Amazon ads. It stands for “advertising cost of sales” and is how much you spend on advertising for every dollar of revenue you earn. Put another way, it’s your total ad spend divided by total ad sales.
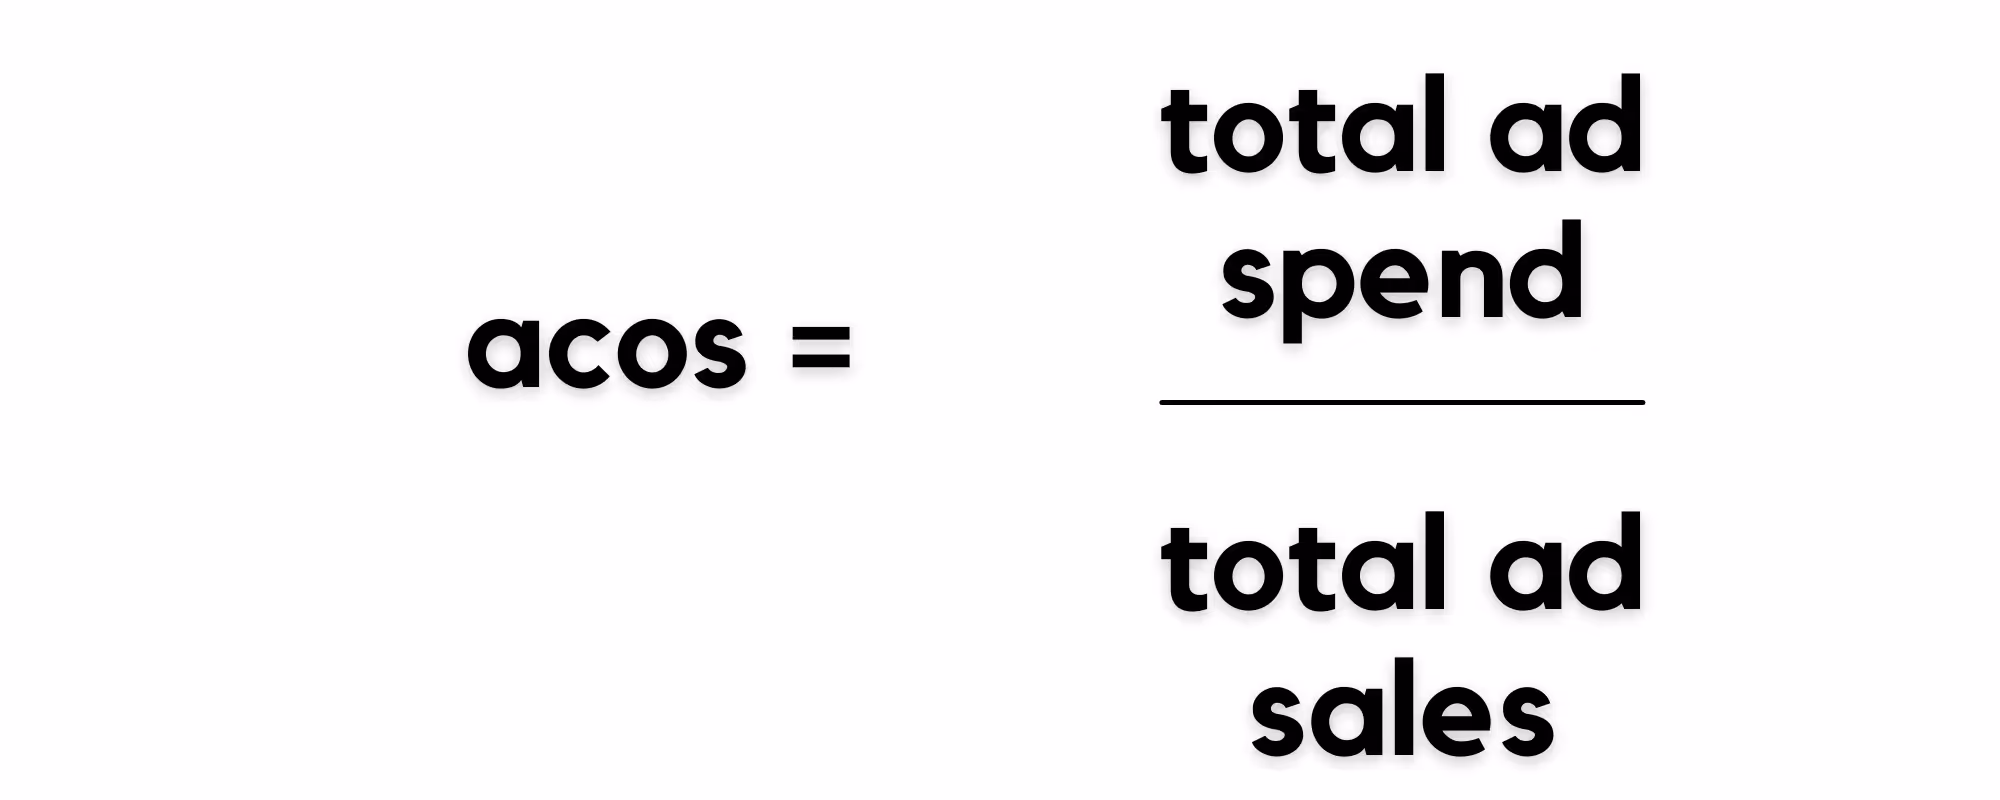
So if you spend $50 on Amazon ads and earn $250 from them, your ACOS is $50/$250, expressed as a percentage: 20%.
It’s good practice to establish your target ACOS before running a campaign. Not only does setting your target ACOS early give you a benchmark to compare performance against, but you’ll use it at critical stages in the launch process, like bid optimization.
First, find your break-even ACOS.
To calculate your target ACOS, first figure out what your break-even ACOS is. What’s the absolute highest amount you can spend on ads without losing money?
It’s easy to calculate your break-even ACOS, because it’s the same thing as your product’s gross margin. It’s how much you earn on a product when factoring in all production costs, fees, etc. (but not any ad spend). Calculate it by subtracting all your costs from your price, then dividing the result by your price.
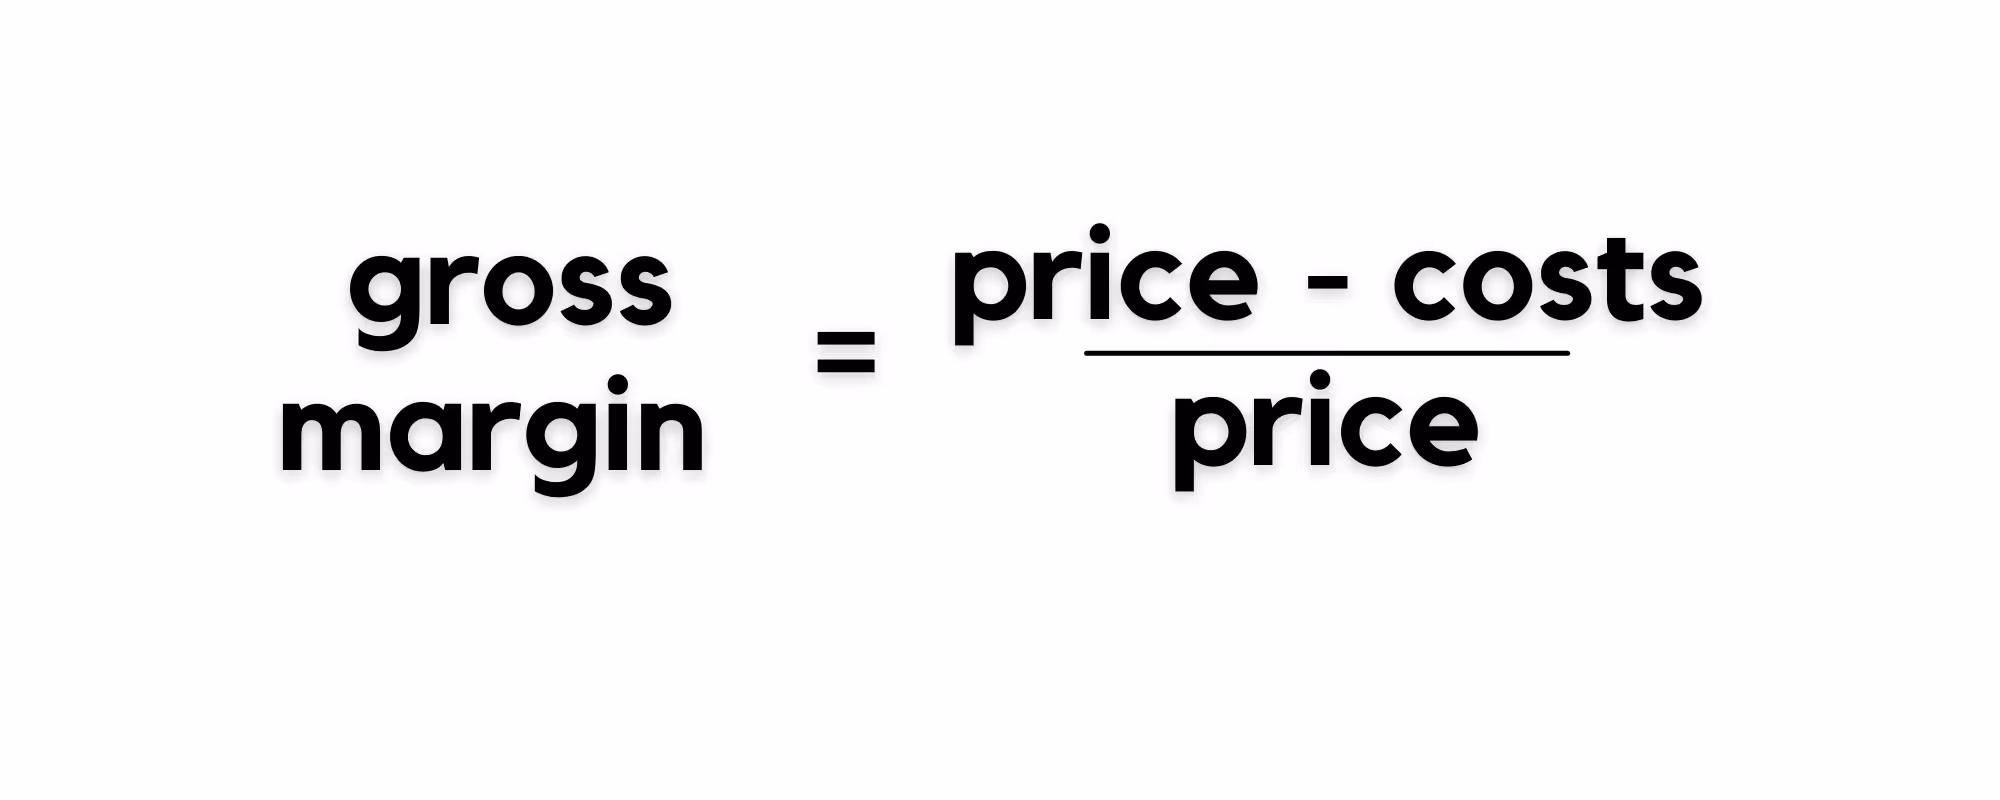
If you’re selling a desk organizer for $25 and it costs $12 to produce and sell, your profit margin is ($25-$12)/$25, or .52. Expressed as a percentage, it’s 52%.
That’s your break-even ACOS too.
Note: When tallying costs, be sure to include any Amazon fees, like referral and listing fees. These can add up to a not-inconsequential percentage of an item’s selling price and shouldn’t be ignored when calculating gross margin and ACOS. Fit Small Business has a helpful breakdown of Amazon’s seller fees.
Next, set your target ACOS.
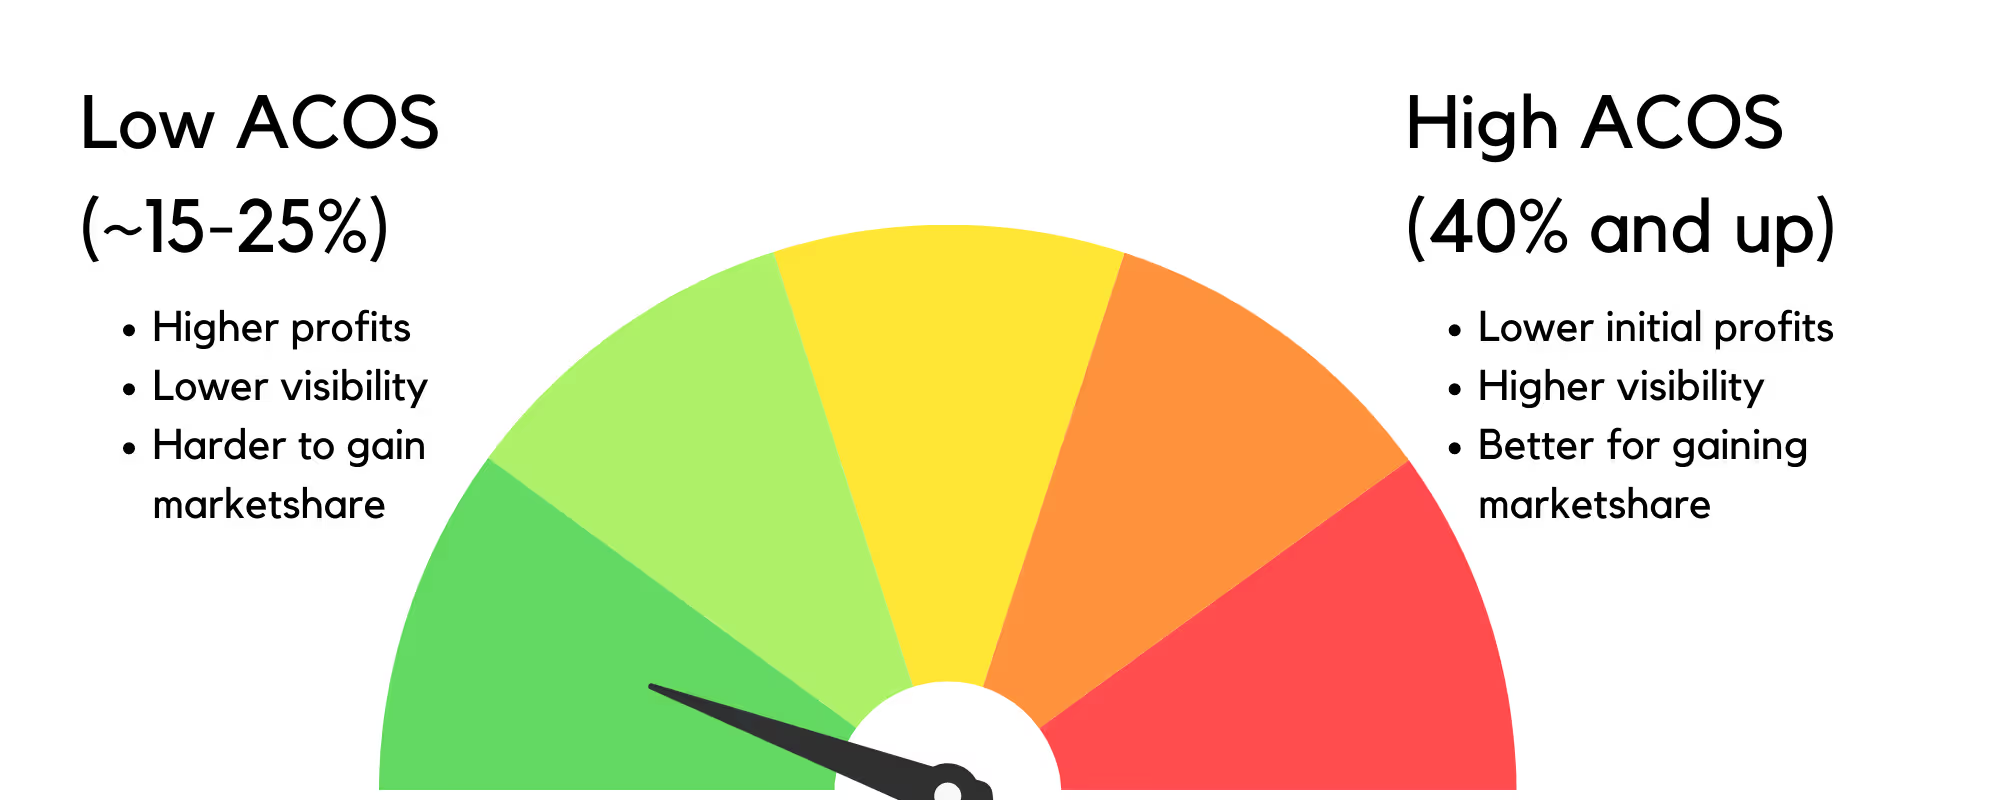
Determine how low you want to go from there for your target ACOS.
For better or worse, there’s no “best” target ACOS. This is a subjective decision based on what you want to get out of your ad campaign and how aggressive you want to be.
You might be tempted to go low for higher profitability. If your startup doesn’t have a ton of capital, it might make sense to aim for profitability more quickly.
On the other hand, a higher ACOS means greater visibility and the potential for more long-term revenue. Some sellers start with a high ACOS as they’re ramping up, then drop it as their conversion rate improves over time. Some will even exceed their break-even ACOS at first while they’re getting off the ground. That way, they get plenty of conversions and product reviews early, which will likely lead to more conversions and more reviews.
Our partners at Ad Badger have worked with hundreds of companies on their Amazon PPC campaigns, and they’ve found that the average ACOS for a sponsored product ad is around 30%. That’s pretty middle-of-the-road, so it could be a good default target ACOS for you as you’re starting out.
Step 4: Launch an automatic campaign
You might be looking at the name of this step and thinking, slow your roll, Demand Curve! We need to do research first. We need to understand the marketplace we’re competing in.
Actually, launching an automatic campaign is the research phase.
Here’s why: By starting with an automatic campaign, you’re handing the reins to Amazon’s algorithm to do your campaign’s targeting for you. Amazon will place your ads based on relevant customer searches—including long-tail search terms that can have a high degree of variability and unpredictability.
Once you let your auto campaign run for a while, you’ll be able to collect data to show you which search terms had the highest conversions. You’ll then use that data in a new manual campaign that concentrates on—and has optimized bids for—top-performing keywords.
This is called search-term gradation, and it’s the practice used by top Amazon marketers. As you move from automatic to manual, you’ll also move from a loose approach to keywords to a laser-focused one.
Here are the steps to launch your auto campaign.
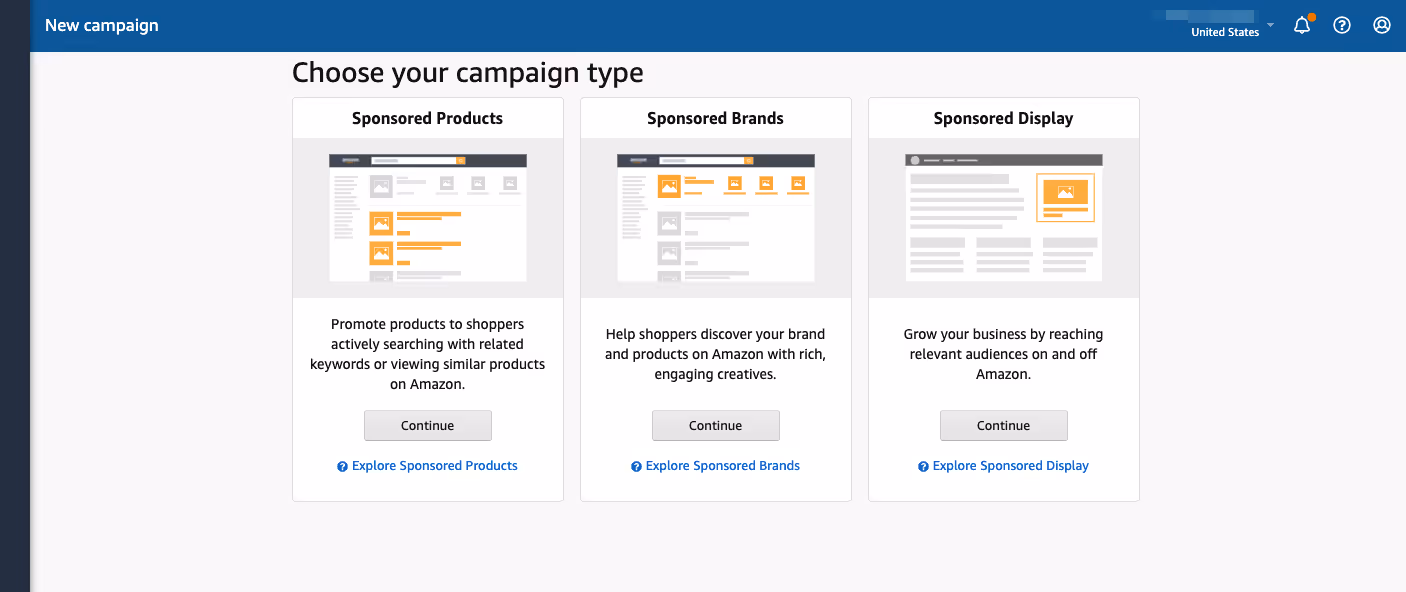
- In your Seller Central account, go to Advertising > Campaign Manager. Click “Create Campaign.” Choose “Sponsored Products.”
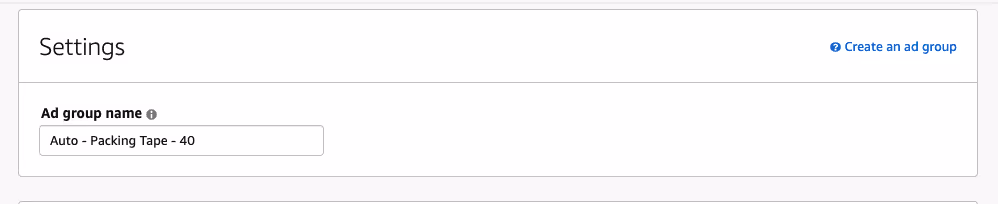
2. Name your campaign something that will make your reporting very clear. We like Ad Badger’s recommendation to follow this naming convention: Targeting type - Product name - Target ACOS (e.g., “Auto - Packing Tape - 40%”). You could also add “SP” for the ad type “sponsored product”: “Auto SP Packing Tape - 40%.”
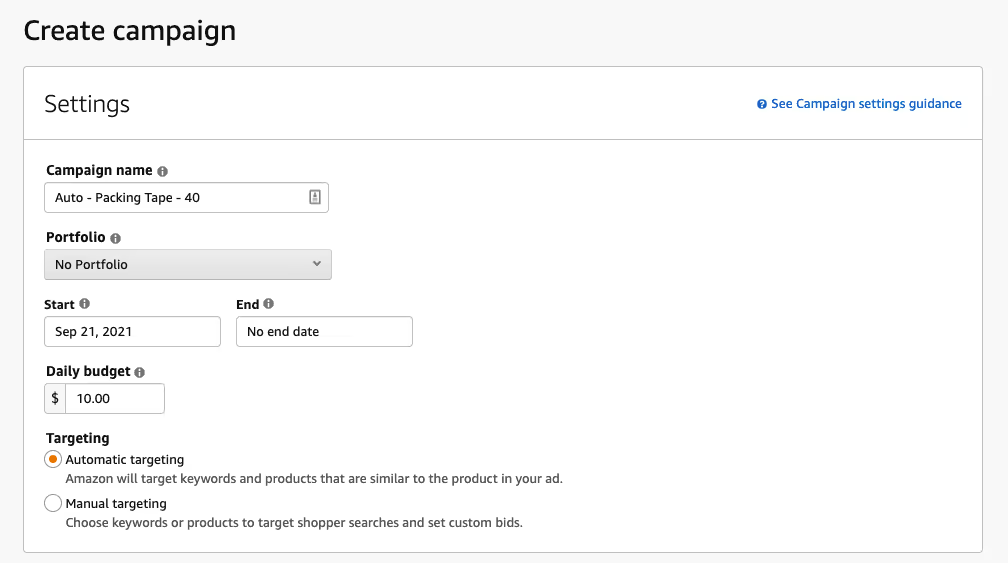
3. Set a start date, and leave “no end date” in the end date field. The longer your automatic campaign runs, the stronger your keyword insights will be.
4. Set a small daily budget, a few dollars at most. You’re just researching at this stage, not optimizing ad spend. We'll go deeper on budgeting on the next page.
5. Select “automatic” as your targeting type.
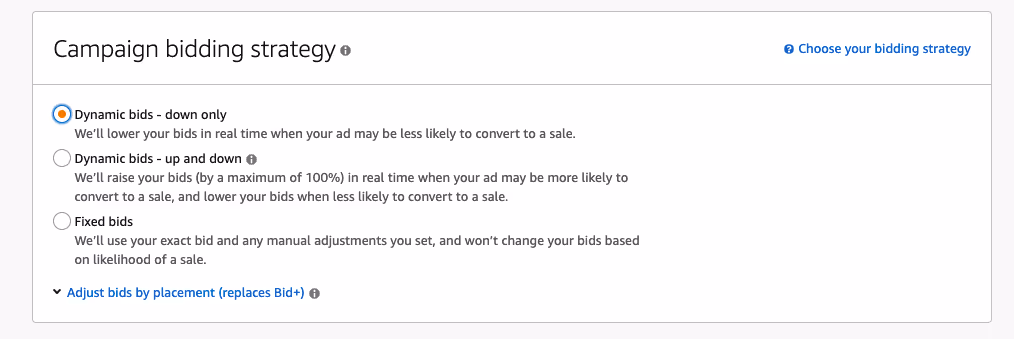
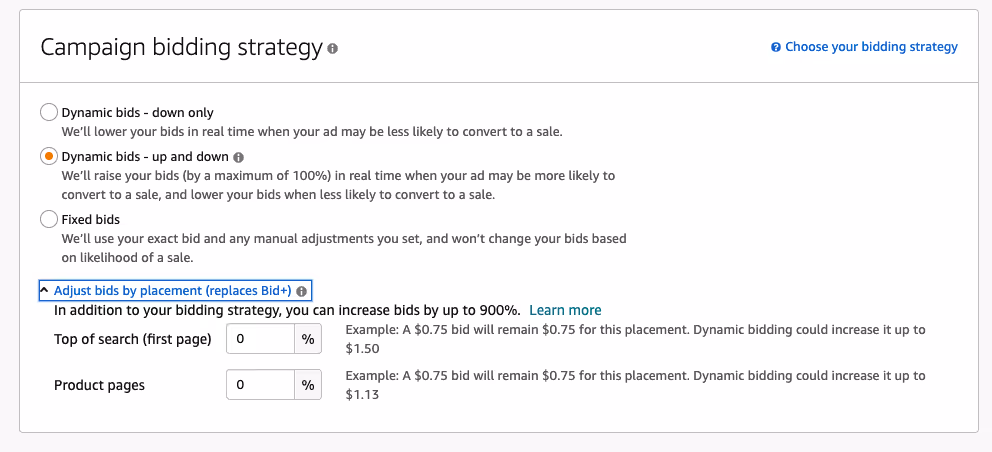
6. Under Campaign Bidding Strategy, select “Dynamic Bids - Down Only.” This is also about handing the reins over to the algorithm by allowing bids to be lowered when ads are less likely to convert.
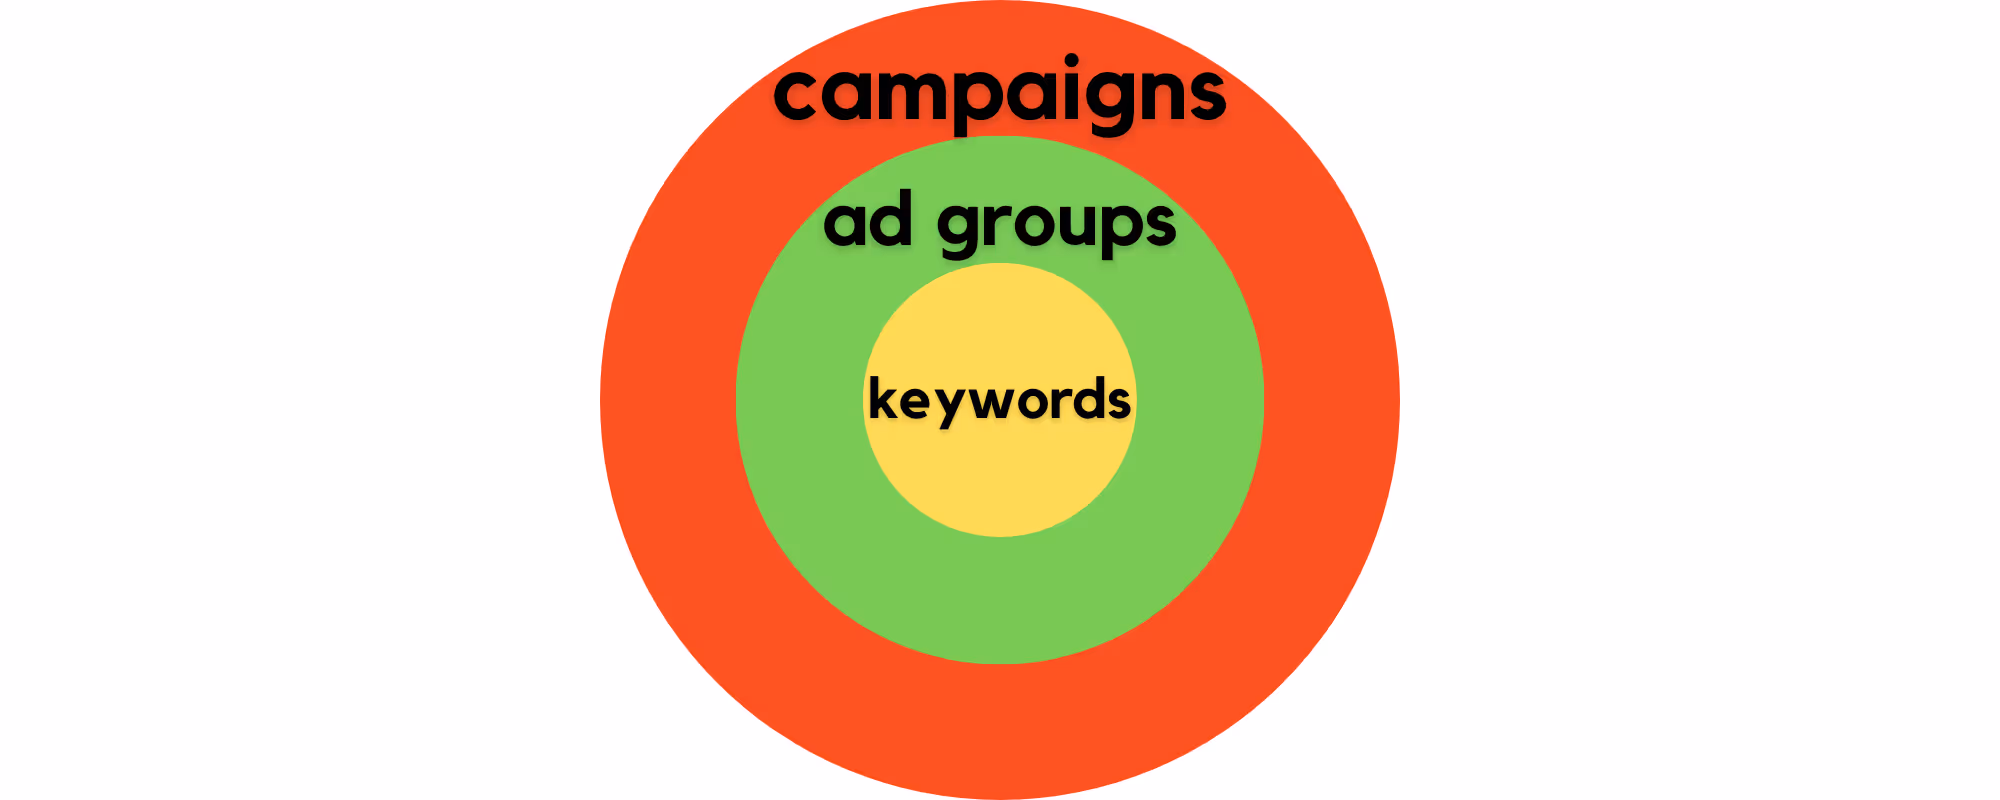
7. Label your ad group. Campaigns are made up of ad groups. Name it something that will be clear to you in reports. A typical approach is to name your ad group something similar to, or even the same as, your campaign name.
8. Select the product you want to run ads for. You can choose to run your ad for multiple products, but we recommend focusing on one at first. This will give you the greatest clarity regarding which keywords are performing for which products, because there’s only one product! Later on, we’ll get into multi-product and other more complex campaign structures.
9. Set a low default bid, around 25¢. This is the most you’ll pay whenever someone clicks on your ad. Again, we’re just researching, so low is the way to go for now.
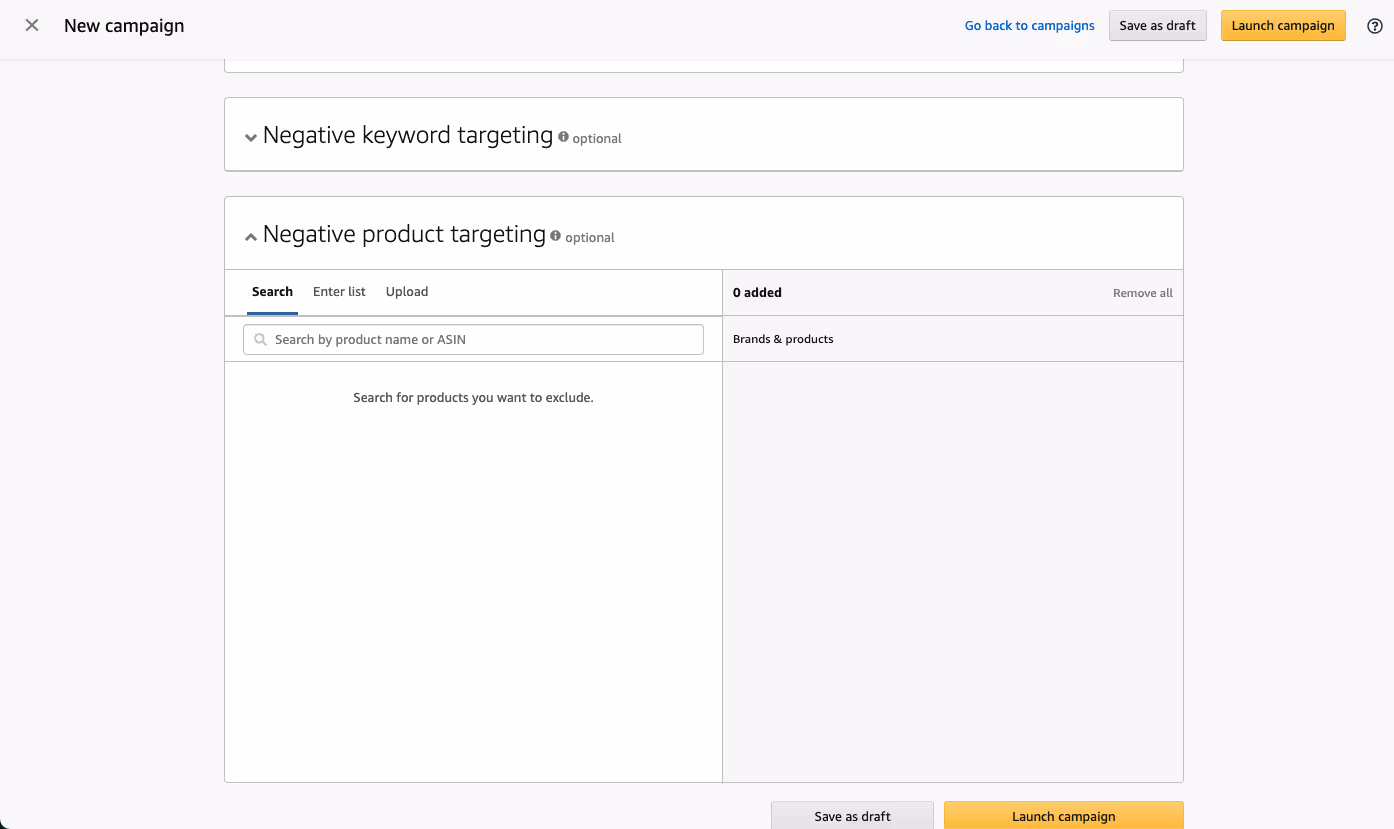
10. Negative phrase match: Are there any keywords you don’t want your ads to appear for? For instance, if you sell personal umbrellas, a negative keyword might be “beach umbrella.” We’ll go deeper into negative keywords in a bit, but for now, enter any obvious ones that come to mind.
11. Click Launch Campaign to go live. 🎊
Step 5: Find the highest converters
Let your campaign sit for a few days before checking your metrics. It’s actually best to wait 30 days before taking the next step, but we know you don’t have 30 days to wait around. So give it a few days—but at least two, which is how long it takes Amazon’s reporting to provide data.
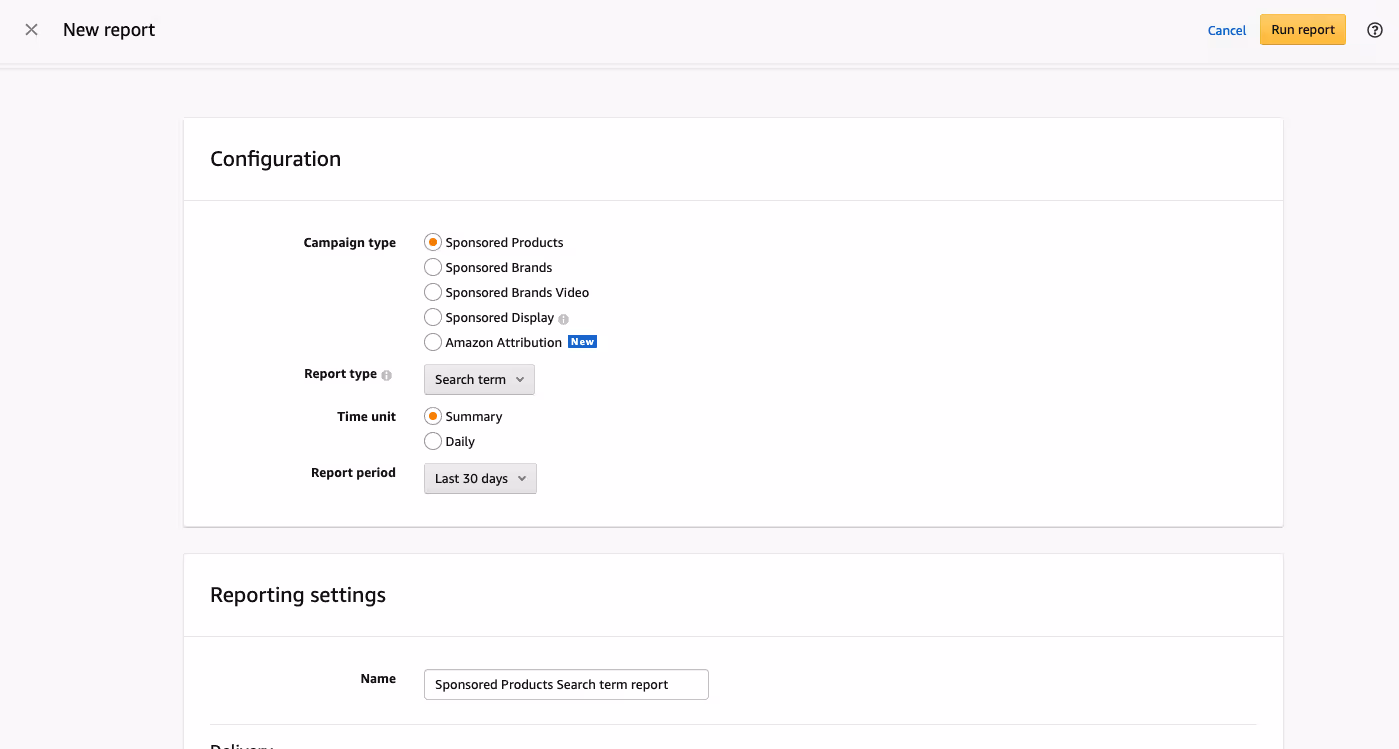
Then go into your account → Advertising → run a Search Term Report.
Whereas ACOS is your key Amazon metric, the Search Term Report is your key report. It has essential metrics for every search term your ad shows up for, including clicks, impressions, CPC (cost per click), conversion rate—and, naturally, ACOS.

Check the conversion rate column. Conversion rate (CvR) is total orders divided by total clicks, expressed as a percentage.
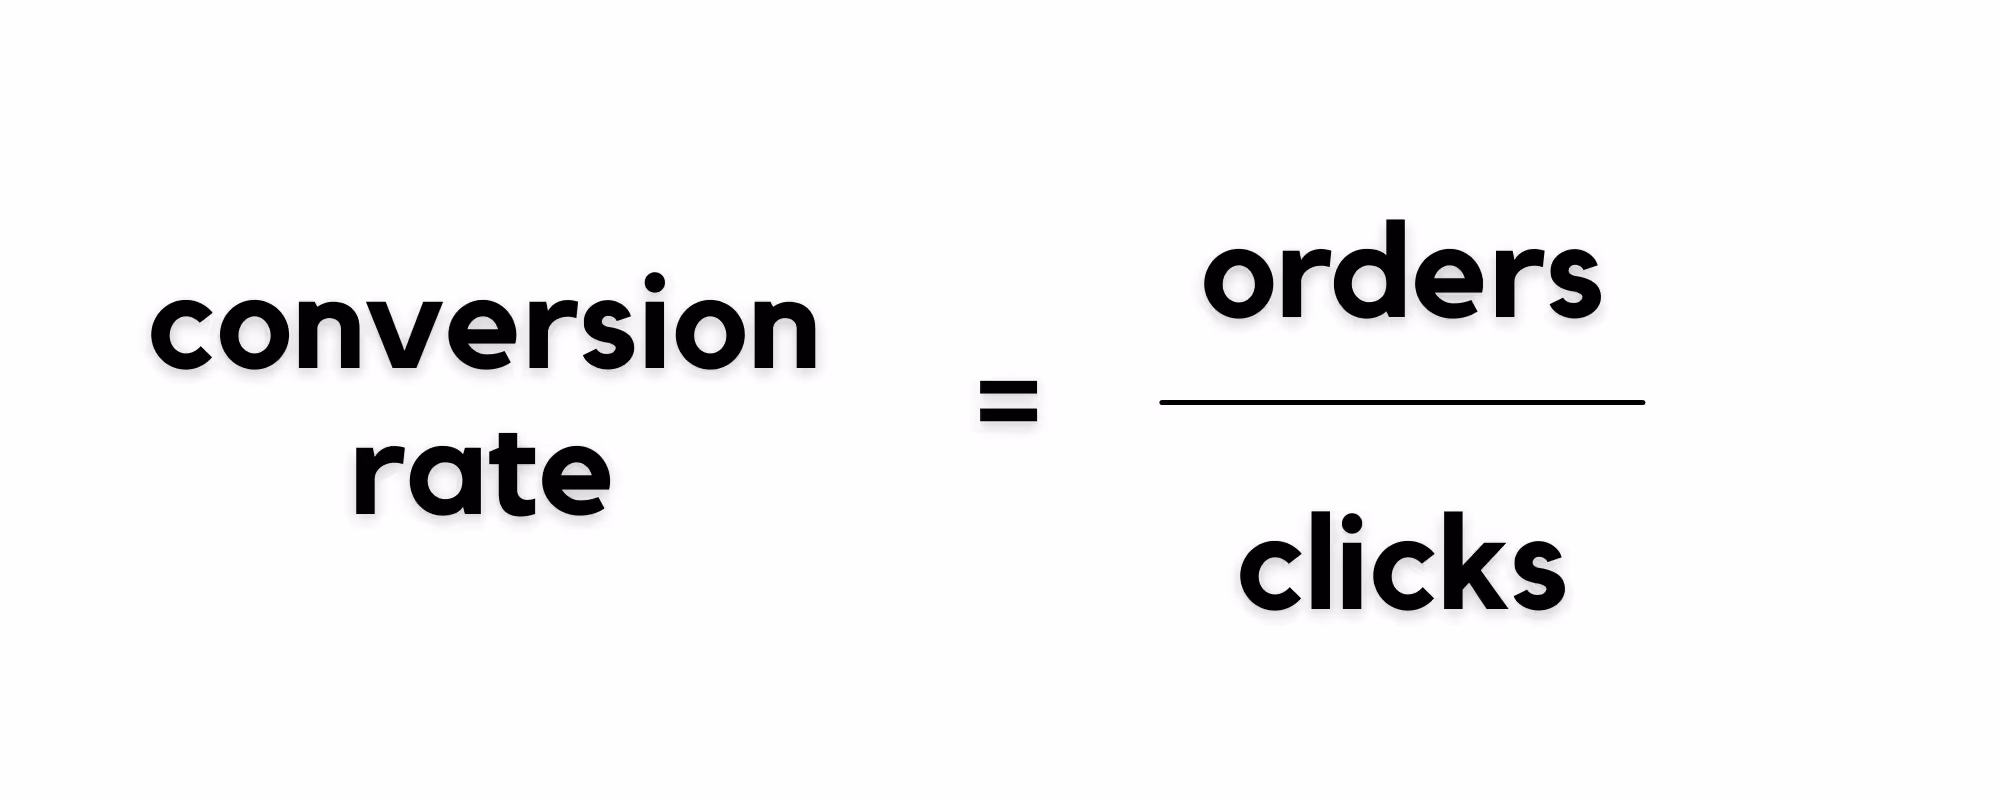
So If your ad is clicked on 150 times and generates 18 orders, its CvR is 18/150, expressed as a percentage: 12%.
If you see few or low conversions in your report, you may need to wait a few more days. Hold off on doing anything until you start to see a conversion rate around 5-10% on some of the search terms.
When you reach that point, you can take the next step in the search-term gradation process. You’ll choose the best-performing search terms.
Look for every search term that results in more than one sale. (We recommend at least two sales because one could be a fluke.) Create a list of them. Rank them by conversions, most to least.
Step 6: Launch a manual campaign
There’s a Latin proverb (or at least an internet one): “He fishes well who uses a golden hook.”
You’ve now found your golden hook: search terms that convert. Time to go fishing.
The next step is to move your winning search terms into a new manual campaign. Doing this will give them the space to flourish outside your automatic campaign. You’ll put ad spend behind the exact search terms that you know—because you did the research—convert. As you do, you’ll see your conversion rate and ACOS improve.
Here’s where match types come into play. Customer search terms aren’t the same thing as keywords. A search term is exactly what it sounds like: what a customer enters into the Amazon search bar. A keyword is what you bid on. (Both can be either a word or a phrase.)
Amazon has three match types to bridge that gap: exact, phrase, and broad. A fourth, negative match, weeds out irrelevant search terms.
As you move forward with search-term gradation, you’ll be applying these match types, starting with exact match.
Go ahead and create a new campaign in your Campaign Manager. Then move forward with campaign creation:
- Label your campaign according to the convention you used earlier, e.g., Targeting type + ad type - Product - Target ACOS (“Manual SP - Packing Tape Winners Circle - 40%”).
- Select your start date—today—and leave “no end date.”
- Set your daily budget. Start with $10. Again, we’ll go over budgeting with a finer-tooth comb on the next page. You can change your budget then.
- Select “manual” as your targeting type.
- Label your ad group.
- Choose your product.
- Choose “keyword targeting” as your targeting type.
- Leave “top of search” and “product pages” at 0. (In most cases, top of search performs best—you can revisit this later to increase the bid percentage for your top of search.)
9. Select “exact” as your match type. What you want at this stage is clarity about exactly which keywords perform well. Using phrase or broad match here would obscure your results, since you wouldn’t know which specific search terms are resulting in conversions.
10. Add your converting search terms from the previous step. If you have a lot of them and a limited budget, add only the highest converters. Leave your bid for each term at 10¢ for now.
11. Launch your campaign.
Step 7: Exclude your winning terms from your automatic campaign
There’s just one more step before we turn to optimizing and scaling.
The purpose of your original automatic campaign is still research. So it no longer needs to include the terms you now know are winners. Leaving them in your original campaign will lead to impressions getting stolen from other possible keyword contenders.
The last step of launching your initial campaigns is to remove those winning terms from your automatic campaign. To do that, reopen your automatic campaign and, in the keywords box, add those search terms. Make the match type “negative exact.” Set the changes live.
Now that you have two campaigns up and running, you’re not only getting ad clicks, but you’re also collecting data that will help you constantly improve your ROI.
We’ll tackle optimization next.