Conversation


🥳 Feedback Received!
Thanks for taking a moment to share your thoughts — it genuinely helps us make each chapter sharper.
What happens next:
- Your feedback goes straight to our product team.
- We’ll use it to refine lessons, clarify examples, and make the program even more useful.
Appreciate you helping make this program better for everyone.
Ready for your next challenge? 👇
Project: Meta Ads Account Setup
There are two important pieces to advertising on Facebook and Instagram:
- Business Manager account: Used to manage all of your Facebook marketing needs, like your Facebook/Instagram pages, ad accounts, and the employees/contractors working on them.
- Meta Ads Manager account: Used to manage and create ad campaigns. This is housed within Meta's Business Manager, but it's possible to run ads directly in Ads Manager without having a Business Manager account.
A Business Manager account is especially useful if you run multiple ad accounts and pages, or have multiple employees who need access to your Meta assets. But even if these don't apply to you, we recommend creating an account since it's free and has a lot of data.
To set up a Business Manager account and Meta Ads Manager Account, we generally recommend using your personal Facebook account as Meta is pretty sensitive about wanting verifiably real people. We'll cover these processes below—plus, additional information for creating your ad campaigns.
How to create a Business Manager Account
- Go to Meta's Business Manager page: https://business.facebook.com/
- Click Create account.
- Log into your personal Facebook account if you aren’t already logged in. Or whichever account you will be using—it doesn't have to be personal, it can be work.
- Fill in your business details, like name and email.
- Click Submit. Your Business Manager account will be created, but you’ll also need to confirm your email.
How to create an Ads Manager account (using Business Manager)
- On your Business Manager homepage, go to Accounts -> Ad accounts in the sidebar.
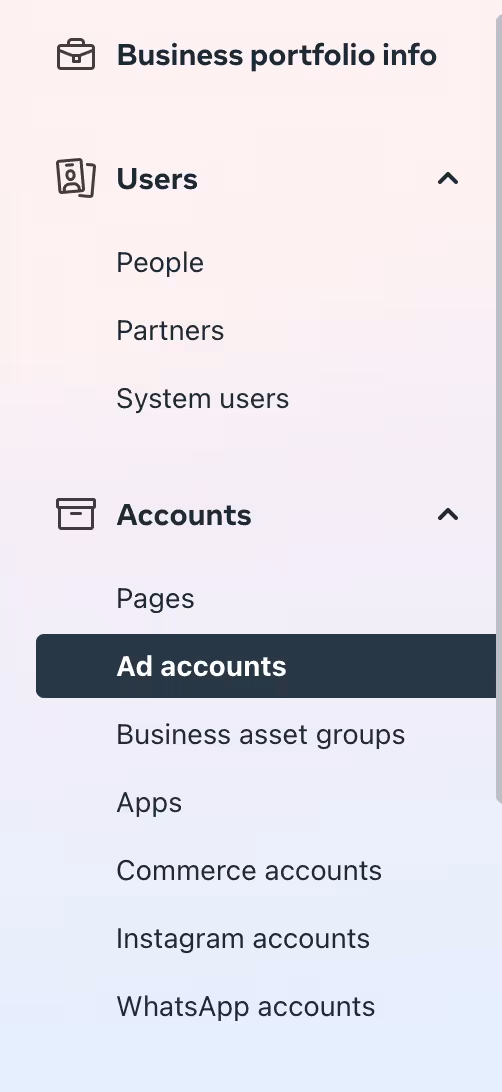
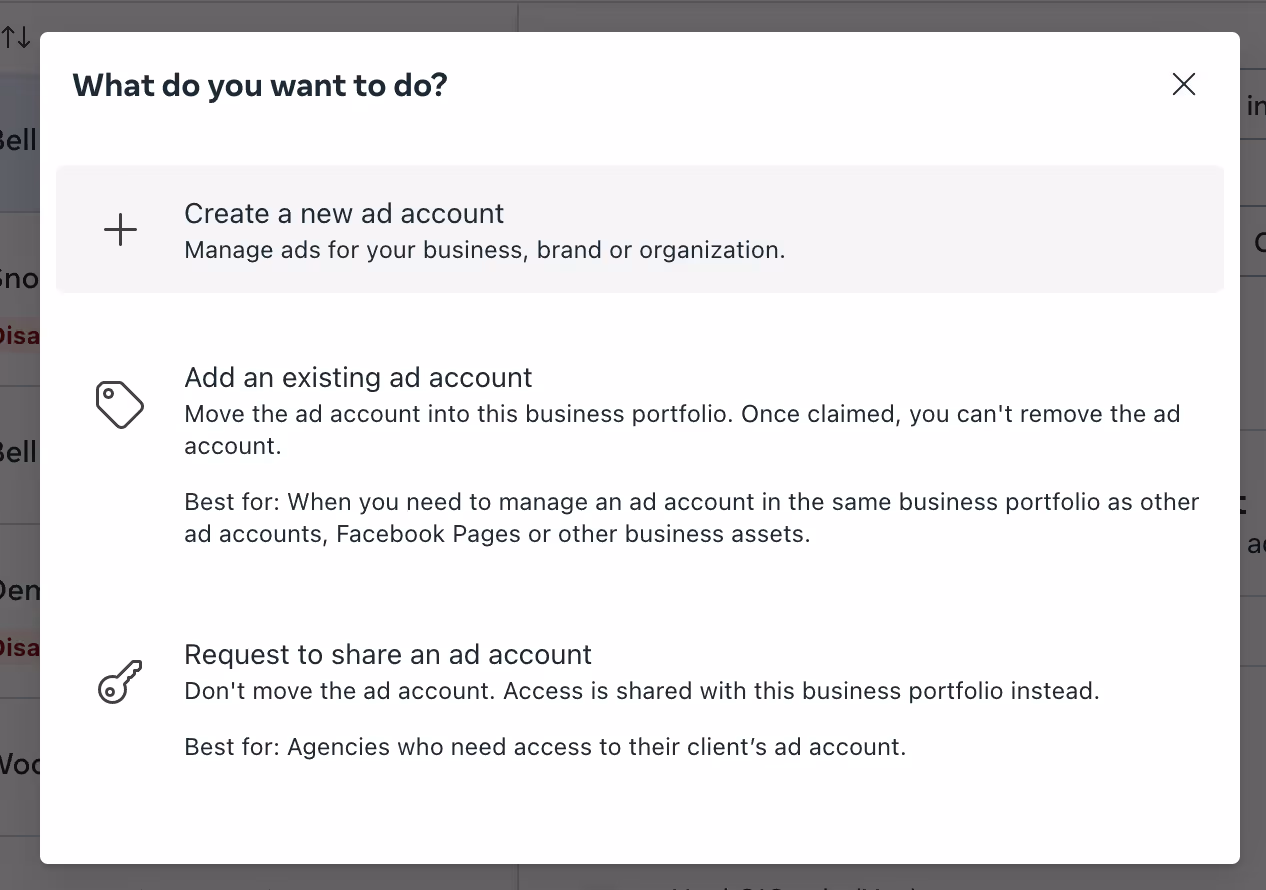
2. On the Ad accounts page, click Add > Create a new ad account in top right corner.
3. Type in the details for your Ad Account. Pay attention to the currency field—you can’t edit this in the future.
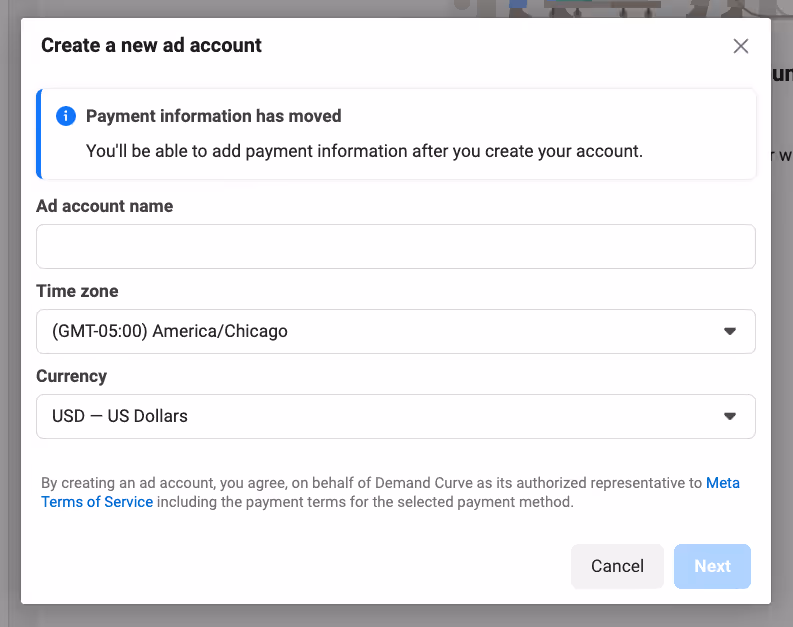
4. Once completed, your Ad Account will be created, and you can add employees or contractors to it.
Domain verification
Because of Apple's iOS updates, most people also need to verify their domains in Facebook Business Manager before they can set up and track their website conversions. You’ll need access to your domain registrar (GoDaddy, Dreamhost, etc.) to do this.
Here’s a quick rundown of the process:
- In the Business Manager, click the Brand safety and suitability -> Domains in the left sidebar

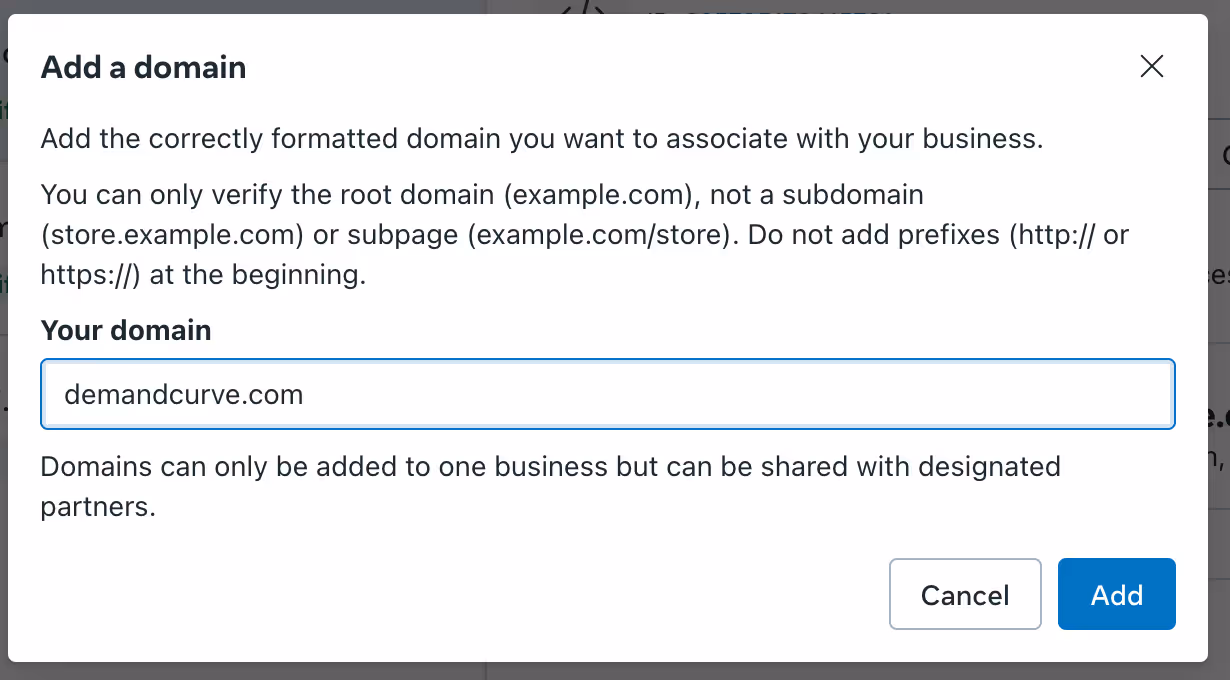
. 2. Click the Add dropdown. Click Create a new domain and add your domain URL without http:// or https://. Then click Add.
3. Three options for verifying your domain will appear:
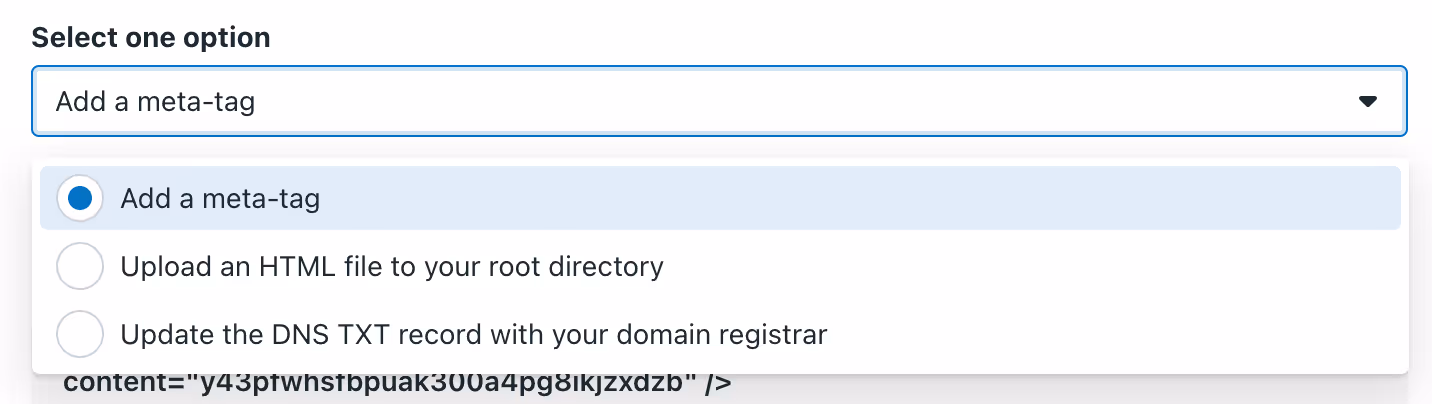
4. Follow the steps and click the Verify button. (Note that verification can take up to 2-3 days.)
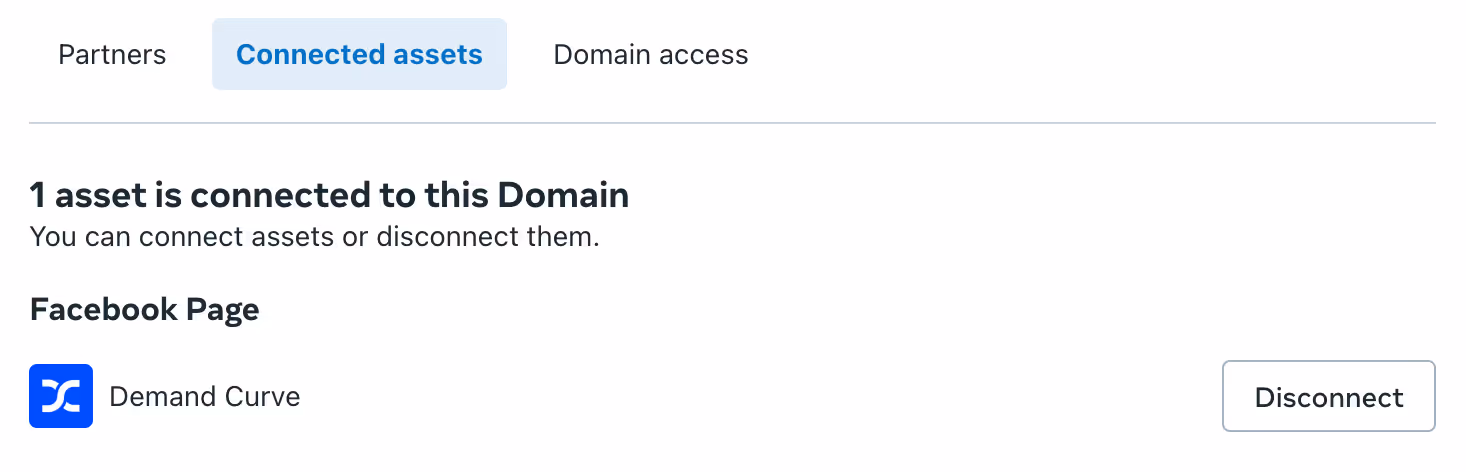
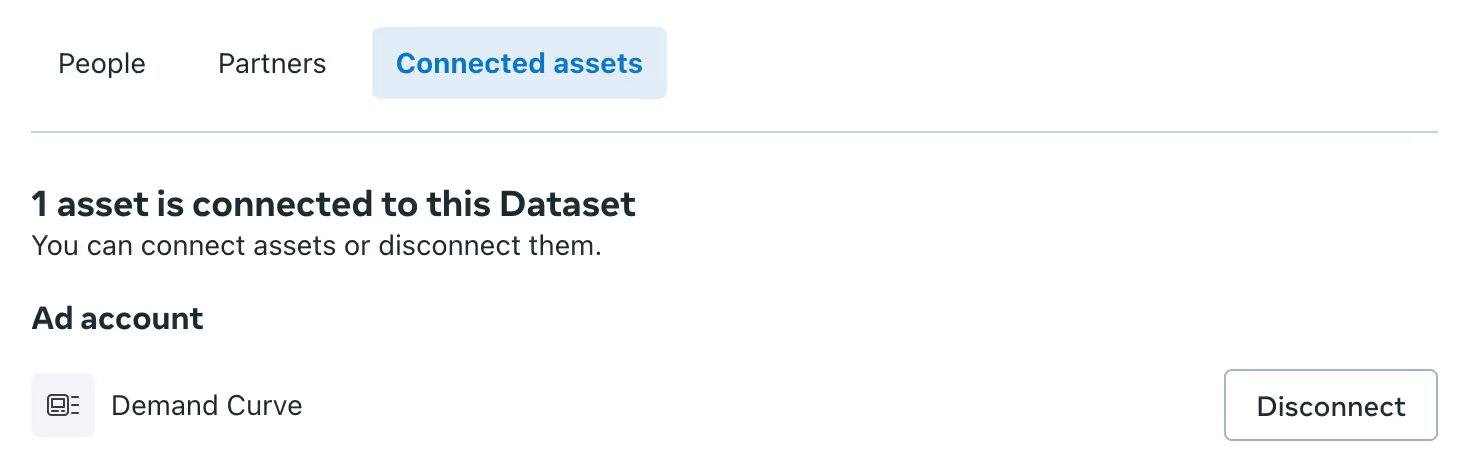
5. Once your domain has been verified, click Connected Assets.

6. Then click Add Assets. You’ll see the Facebook Pages you manage appear; select the one that should be associated with your business and click Add.
Ensure your pixel is connected
Here’s how to ensure your pixel is connected and seeing events
- In your Facebook Business Manager dashboard, click on the account you want to work on.
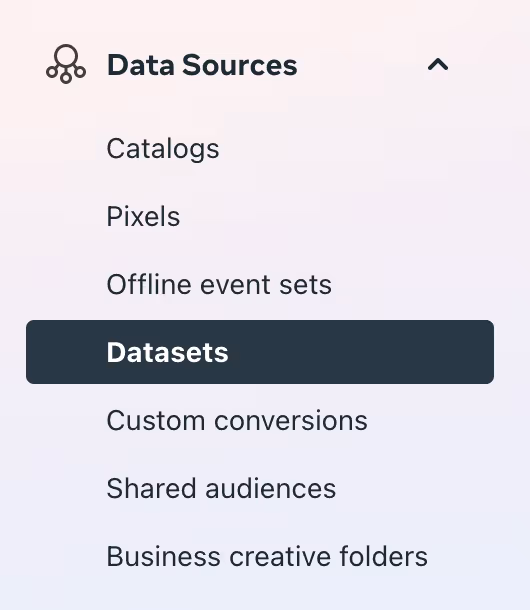
- Click Data Sources -> Datasets in left sidebar:
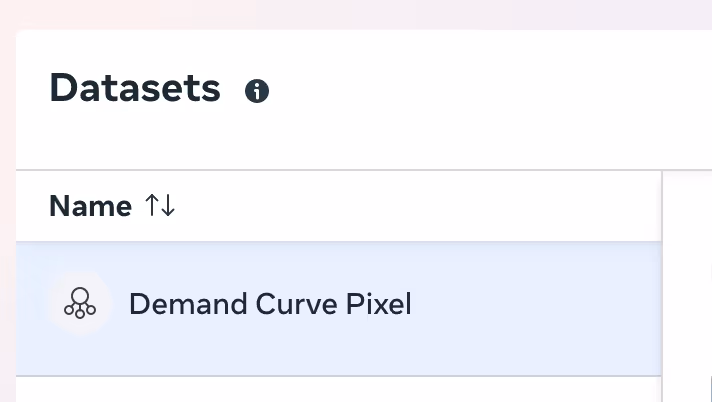
- Select your Pixel.
4. Make sure it's connected to your Ad Account
5. If not, connect it :)
6. Then go to the Event Manager
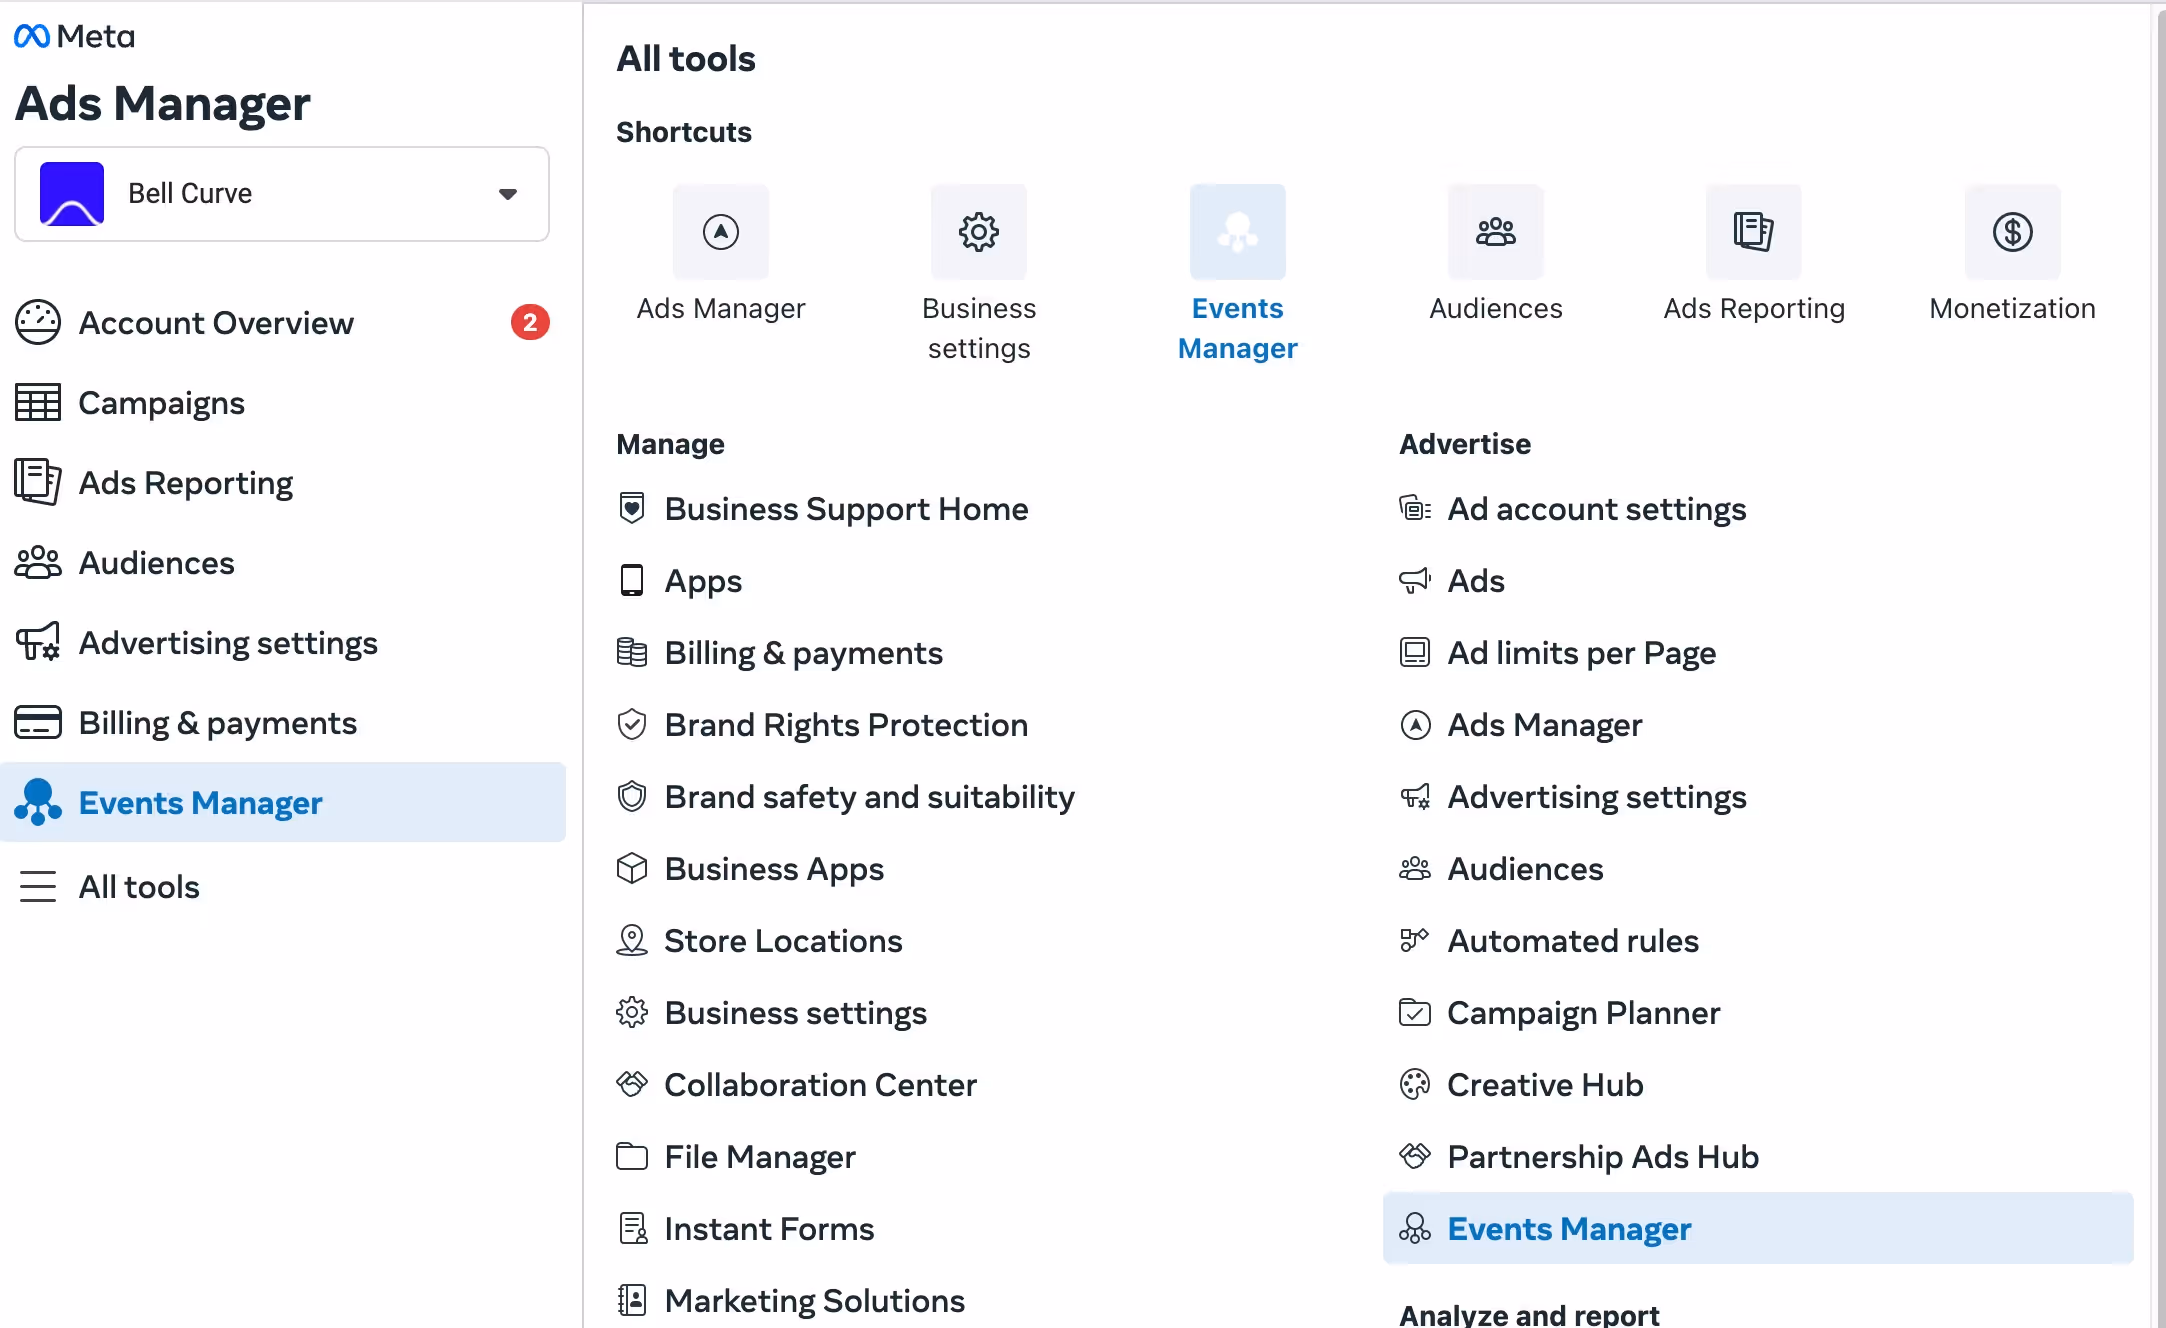
7. Go to Data Sources
8. Select your Pixel
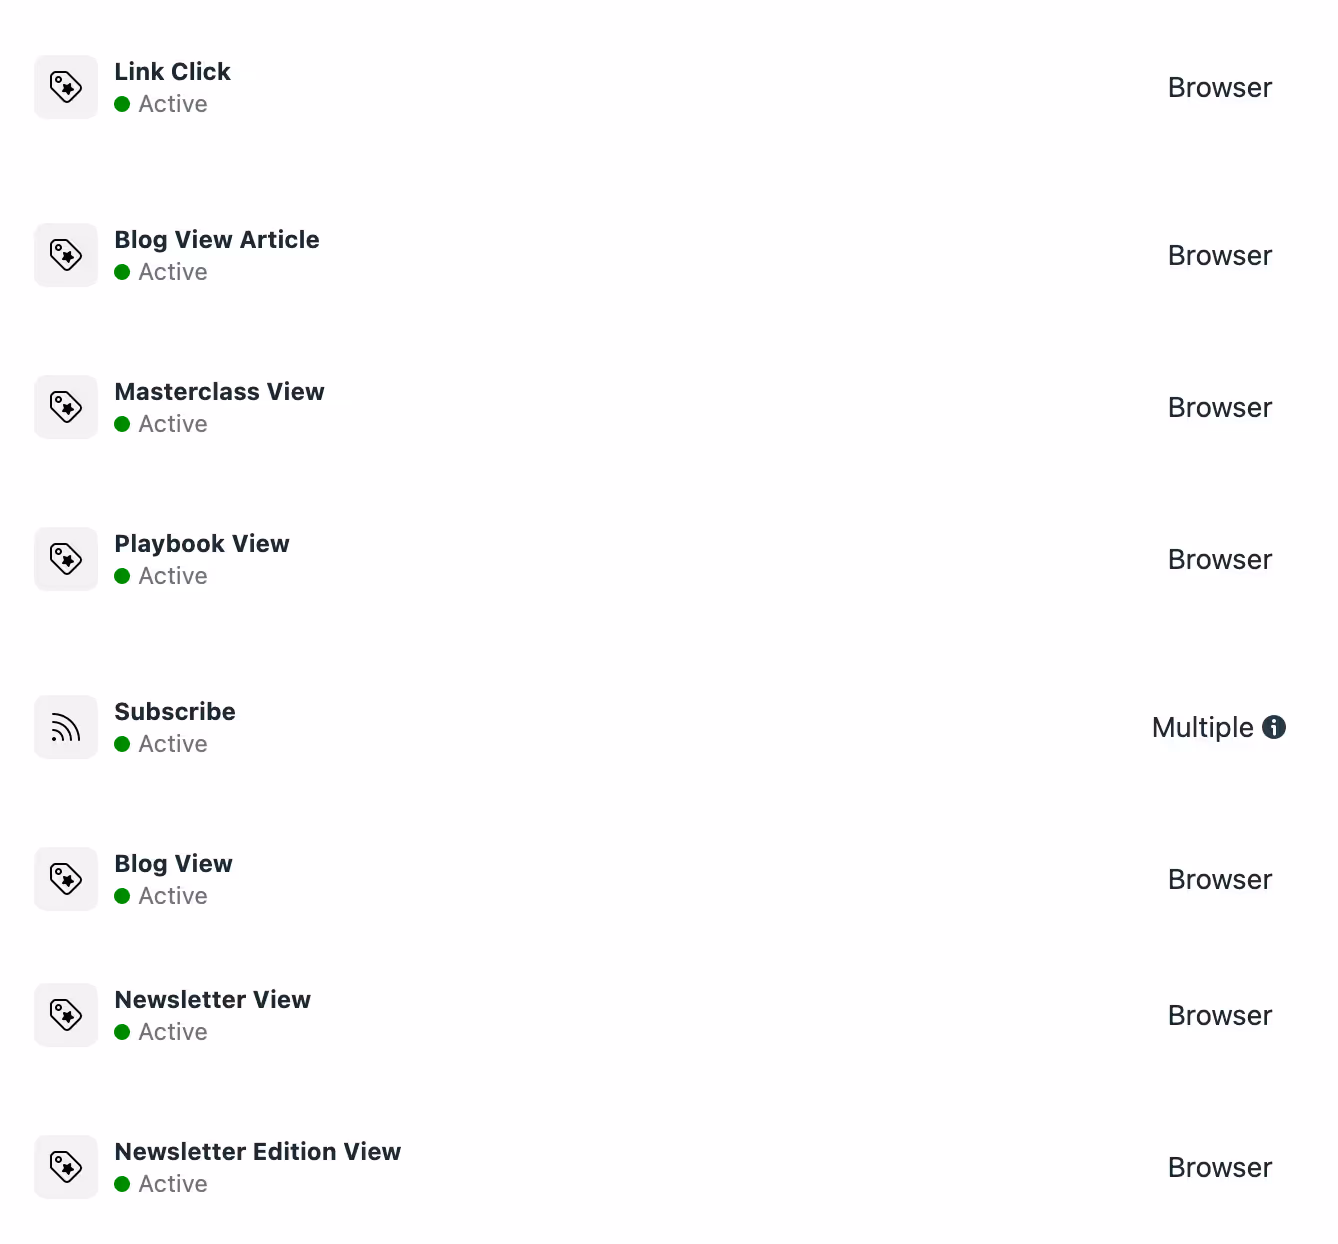
9. Ensure you're seeing events being logged
Spending limit for new accounts
If you’re starting out with a new ads account, you may notice that your full budget isn’t being spent immediately.
This is normal—Meta places a daily spending limit that will lift on its own after a few weeks and successful payments!